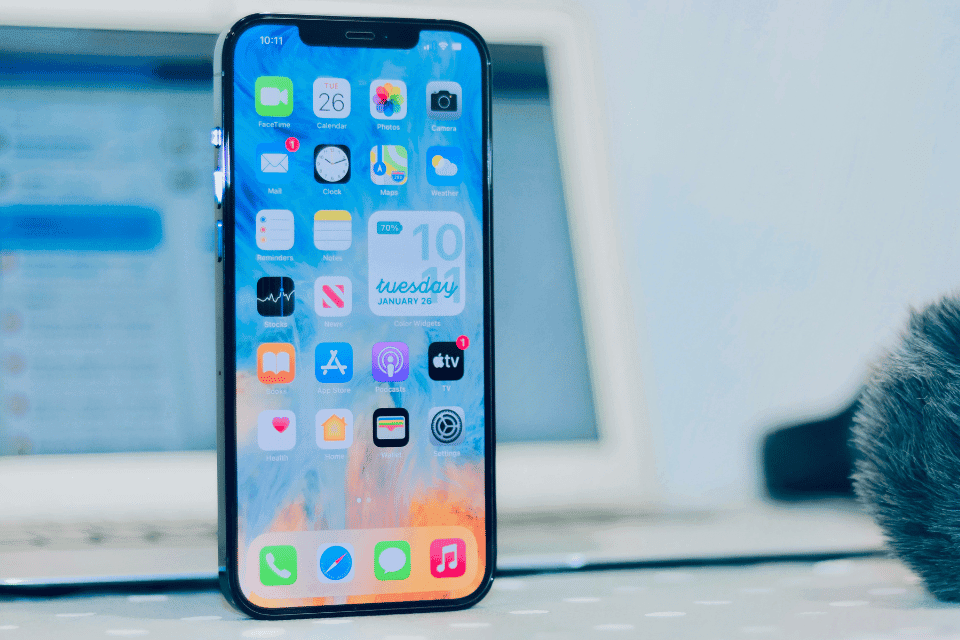
Transferring photos from your iPhone to a computer is essential for freeing up storage space, keeping your memories safe, or editing images on a bigger screen. This guide walks you through various methods, whether you’re using Windows or macOS.
Why Transfer Photos to a Computer?
Before diving into the steps, here are a few reasons why transferring your photos to a computer is a good idea:
- Storage Management: iPhones have limited storage, and photos can consume a significant portion.
- Backup: Keeping photos on your computer ensures you have a second copy in case your phone is lost or damaged.
- Editing Options: Computers offer advanced photo editing software compared to mobile apps.
Method 1: Transfer Photos Using a USB Cable
For Windows Users:
- Connect Your iPhone:
- Plug your iPhone into the computer using a Lightning-to-USB cable.
- Unlock your iPhone and tap “Trust This Computer” if prompted.
- Open File Explorer:
- Go to “This PC” or “My Computer.”
- Your iPhone should appear as a device. Click on it.
- Locate Photos:
- Navigate to the “DCIM” folder, where your iPhone stores photos.
- Copy and Paste:
- Select the desired photos, right-click, and choose “Copy.”
- Paste them into a folder on your computer.
For macOS Users:
- Connect Your iPhone:
- Use a Lightning-to-USB cable to connect your iPhone.
- Use the Photos App:
- Open the Photos app on your Mac.
- Your iPhone should appear under “Devices.”
- Import Photos:
- Select the photos you want to transfer and click “Import Selected” or “Import All New Items.”
Method 2: Transfer Photos Wirelessly
Using iCloud Photos:
- Enable iCloud Photos on iPhone:
- Go to Settings > [Your Name] > iCloud > Photos and enable “iCloud Photos.”
- Access Photos on Your Computer:
- On a Mac: Open the Photos app; iCloud photos will sync automatically.
- On Windows: Download and install iCloud for Windows. Sign in with your Apple ID and enable “Photos” in iCloud settings.
Using AirDrop (Mac Only):
- Enable AirDrop:
- On your iPhone: Swipe down from the top-right corner and enable AirDrop from the Control Center.
- On your Mac: Open Finder, click “AirDrop,” and set it to “Everyone” or “Contacts Only.”
- Transfer Photos:
- Open the Photos app on your iPhone, select photos, and tap the “Share” icon.
- Choose your Mac from the AirDrop list.
Method 3: Transfer Photos Using Third-Party Apps
If you prefer additional features or want an alternative method, several apps can help:
- Google Photos:
- Install Google Photos on your iPhone. Backup photos to Google Photos.
- Access them on your computer via the Google Photos website.
- Dropbox/OneDrive:
- Upload photos to cloud storage apps and download them on your computer.
Tips for a Smooth Transfer
- Ensure both devices are updated to the latest software version.
- Use a high-quality cable to avoid interruptions during wired transfers.
- Regularly back up your photos to prevent the loss of precious memories.
Conclusion
Transferring photos from your iPhone to a computer doesn’t have to be complicated. Whether you prefer a USB connection, wireless solutions like iCloud, or third-party apps, you have multiple options to choose from. Follow the method that best suits your needs and start organizing your photo collection today!
